
Installing a bidet shower (also called a bidet sprayer or bum shower) is much easier than most people think. Most can do it in 15–30 minutes without being a plumber. In this guide, we'll go through everything you need to know for a successful bidet shower installation at home.
RenaRumpor's Bidet Shower comes with all the necessary parts for both toilet and wall mounting – so you can choose what best suits your bathroom.
Why should you install a bidet shower?
- Better hygiene than toilet paper
- Less irritation and fewer problems with hemorrhoids
- Environmentally friendly (saves hundreds of toilet paper rolls per year)
- Easy and inexpensive bathroom upgrade
Different ways to install a bidet shower
There are mainly two common ways to install a bidet shower in Swedish homes:
- Via T-adapter on the toilet (most common)
- Directly on the washbasin mixer tap (good if you have a washbasin near the toilet)
RenaRumpor's Bidet Shower works excellently for both options.
What's included in the RenaRumpor package?
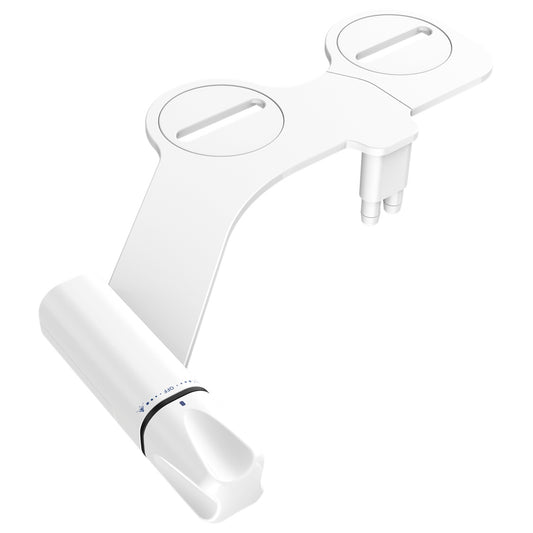
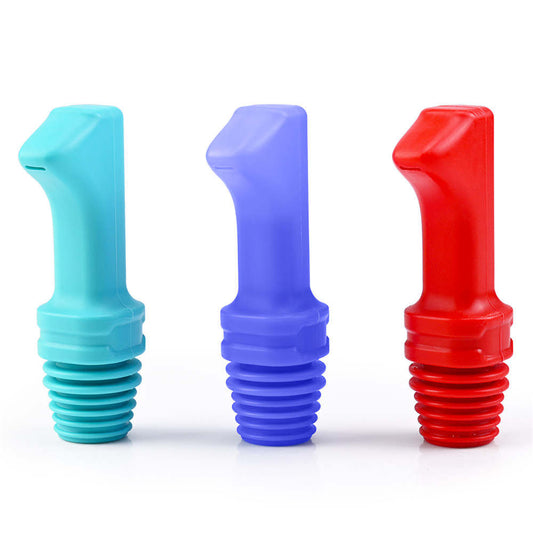
- Bidet shower head with adjustable pressure
- Flexible hose with extra reinforcement
- Brass T-adapter
- Wall bracket with double-sided adhesive tape
- All necessary gaskets and accessories
Tools you'll need
- Adjustable wrench or pliers
- Towel to wipe up any spills
Step-by-step: Installation via T-adapter (toilet)
- Turn off the water Turn off the water valve behind the toilet (usually to the right). Flush the toilet to empty the cistern.
- Unscrew the existing hose Detach the hose that runs from the wall/floor up to the toilet.
- Install the T-adapter Screw the T-adapter into the place where the hose was attached.
- Reconnect the toilet hose Connect the original hose to the straight outlet on the T-adapter.
- Connect the bidet shower hose Connect the included hose to the side outlet on the T-adapter.
- Mount the handle Attach the bidet shower head to the included wall bracket or hang it on the toilet (many prefer the latter for easy access).
- Turn on the water and test Slowly open the valve and check for any leaks. Adjust the water pressure using the valve's control.
Done! You now have a functional bidet shower.
Installation on mixer tap (washbasin)
If you have a washbasin near the toilet, this is a popular alternative:
- Unscrew the aerator Unscrew the aerator where the water comes out of the mixer tap, using your fingers or an adjustable wrench.
-
Install the T-adapter Screw the T-adapter into the place where the aerator was attached.
- Connect the bidet shower hose Connect the included hose to the side outlet on the T-adapter.
- Turn on the water and test Slowly open the valve and check for any leaks. Adjust the water pressure using the valve's control or via the mixer tap.
- Many choose this solution because it allows for mixing hot and cold water.
Frequently Asked Questions & Troubleshooting
Question: Is there water leaking? Answer: Check that all gaskets are correctly seated and everything looks right. Do not overtighten – it can damage the threads. If it's still leaking, contact support for help.
Question: Is the water pressure too weak? Answer: Most Swedish homes have sufficient pressure. Try closing other taps in the apartment during use.
Question: Am I allowed to install it myself in a rented apartment? Answer: Yes, as long as you don't interfere with the waterproof layer or affect pipes before the existing shut-off valve to the toilet bowl.
Question: How do I clean the bidet shower? Answer: Rinse with clean water after each use and wipe the nozzle regularly. For thorough cleaning, soak the nozzle in hot water and descale with vinegar or similar.
Tips for best results
- Always test the installation before permanently fixing everything.
- Choose a model with adjustable pressure (like RenaRumpor's) so you can adapt the strength.
- Place the wall bracket in a convenient spot – many mount it on the side of the toilet.
- Feel free to combine with a few sheets of toilet paper for drying (or let air dry).